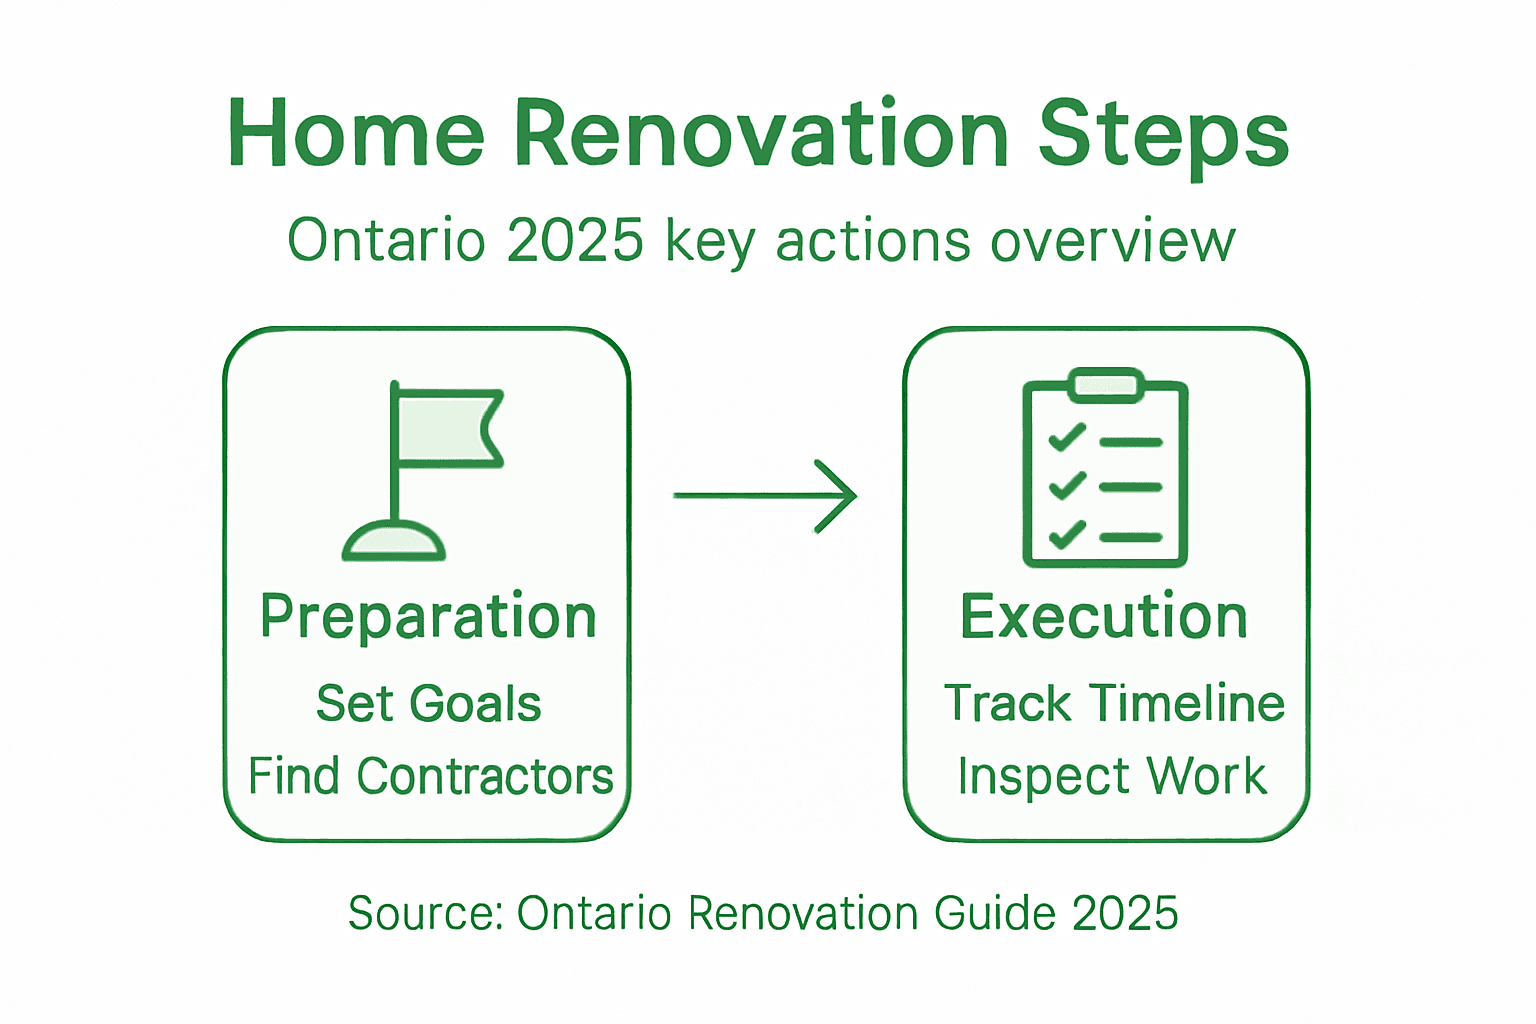
Step-by-Step Process of Home Renovation 2026 in Ontario

Choosing to renovate a luxury kitchen or bathroom in South Georgian Bay is both exciting and complex. As you picture your dream space, it is crucial to start with a clear vision and well-defined goals if you want lasting results. Aligning your renovation with Ontario’s 2025 Home Renovation Savings Program means you can blend high-end design with cutting-edge energy efficiency, unlocking practical savings and future-proofing your investment. Trusted local builders help ensure every step reflects your style while meeting provincial standards.
Table of Contents
- Step 1: Establish Your Renovation Vision And Goals
- Step 2: Assess Feasibility And Set A Realistic Budget
- Step 3: Select Trusted Contractors And Confirm Permits
- Step 4: Coordinate Project Timeline And Secure Materials
- Step 5: Oversee Construction And Quality Control
- Step 6: Finalise Details And Verify Renovation Standards
Quick Summary
Key Insight
Explanation
1. Define Your Renovation Vision
Establish clear goals based on your motivations for renovating your space.
2. Assess Feasibility and Budget
Consult professionals to create a realistic budget that includes contingencies.
3. Select Trusted Contractors
Vet potential contractors thoroughly to ensure quality work and compliance.
4. Coordinate Timeline and Materials
Develop a detailed project timeline and secure materials in advance to prevent delays.
5. Oversee Construction Quality
Conduct regular site visits and communicate effectively to maintain standards.
Step 1: Establish Your Renovation Vision and Goals
Before you pick up a phone or meet with a contractor, you need clarity on what you actually want. A renovation without direction is like setting out on a road trip without knowing your destination. Take time to imagine your ideal space. What does it look like? How do you want to feel when you walk into that kitchen or bathroom? This foundation matters more than most homeowners realize.
Start by defining your primary motivation. Are you renovating to increase home value, improve daily functionality, or create a space that truly reflects your lifestyle? Your answer shapes every decision that follows. A luxury kitchen renovation in Collingwood, for instance, serves different goals than updating a cottage bathroom in Wasaga Beach. Understanding your “why” keeps you focused when choices become difficult or budgets tighten.
Consider incorporating energy efficiency into your vision early on. Ontario’s 2025 Home Renovation Savings Program encourages homeowners to align renovation goals with improvements such as new windows, doors, insulation, smart thermostats, heat pumps, and rooftop solar panels. This approach combines aesthetic upgrades with practical cost savings and environmental benefits. When you plan this way, your renovation works harder for your family and your wallet.
Write down specific objectives for each room. Instead of saying “I want a nicer kitchen,” get specific: “I want a kitchen with ample counter space for meal prep, upgraded appliances, improved lighting, and a modern aesthetic.” Detailed goals help contractors understand your vision and prevent costly misalignments during construction. Clear communication from the start saves time and frustration later.
Here’s a comparison of renovation priorities and their typical benefits:
Renovation Priority
Typical Benefit
Example Focus Area
Increase Home Value
Boost resale price and appeal
Kitchen and bathroom
Improve Functionality
Make daily life easier
Layout upgrades, storage
Enhance Energy Efficiency
Lower bills, eco-friendly
Windows, insulation, HVAC
Reflect Lifestyle
Enjoyment and comfort
Custom finishes, open plan
This quick reference helps clarify how your renovation goals translate to practical outcomes.
Think about your timeline and budget constraints. How soon do you want this complete? What’s your realistic financial range? Luxury home renovation steps show how proper planning connects vision with execution. Knowing these boundaries helps you prioritize which elements matter most and where you might compromise without sacrificing your core vision.
Pro tip Gather visual inspiration from magazines, social media, and home design websites, then share your collected images with your renovation contractor during initial consultations. This visual reference eliminates vagueness and ensures you and your builder are truly aligned on aesthetic direction before work begins.
Step 2: Assess Feasibility and Set a Realistic Budget
Now that you know what you want, it’s time to test whether your vision fits your reality. Feasibility means understanding what’s actually possible within your home’s structure, your local building codes, and your financial capacity. Budget means being honest about what you can spend without overextending yourself. These two elements work together to keep your renovation grounded.
Start by getting professional input on what your space can handle. A contractor can walk through your home and identify structural limitations, plumbing constraints, electrical capacity, or foundation concerns that might affect your plans. What seems simple on the surface often reveals hidden complexity once experts assess the actual conditions. In areas like Wasaga Beach or Blue Mountain, contractors understand local climate challenges and building requirements specific to South Georgian Bay that directly impact feasibility and cost.
Gather quotes from multiple contractors to understand pricing reality. Don’t just accept the first number you hear. Different builders price projects differently based on their materials, labour costs, timelines, and overhead. Three to five detailed quotes give you a realistic picture of the market. When reviewing quotes, compare what’s included. A low estimate that excludes certain work phases isn’t actually lower when the project finishes.
Build contingency into your budget from the start. Unexpected issues emerge during renovation. Hidden water damage, outdated electrical systems, or structural surprises happen. Setting aside 10 to 20 percent of your total budget for contingencies prevents financial panic when discoveries occur. This buffer protects your timeline and stress levels. Without it, you’ll scramble for solutions mid-project.
Align your budget with your priorities. Every renovation involves trade-offs. You might choose premium appliances but standard cabinetry, or invest heavily in bathroom fixtures while keeping vanities simpler. Understanding where to splurge and where to economise depends on what matters most to your family. Custom home renovations workflow demonstrates how experienced builders balance quality with budget constraints throughout a project.
Pro tip Request itemised quotes that break costs into labour, materials, permits, and contingencies separately. This clarity helps you identify where prices differ between contractors and makes it easier to negotiate or adjust scope without losing sight of your total investment.
Step 3: Select Trusted Contractors and Confirm Permits
Your contractor choice determines whether your renovation runs smoothly or becomes a source of frustration. This step involves finding builders with proven experience, verifying their credentials, and ensuring all necessary permits are in place before work starts. The right partner transforms your vision into reality. The wrong one creates delays, cost overruns, and quality issues that haunt you for years.
Start by checking references and credentials thoroughly. Ask potential contractors for names of recent clients you can contact directly. Call them and ask specific questions about communication, timeline adherence, and how problems were handled. Request proof of licensing, insurance, and bonding. In Ontario, contractors should comply with provincial building codes and demonstrate familiarity with local requirements. How to hire renovation contractors for high-end homes explains the vetting process that protects your investment.
Consult professionals familiar with local regulations before signing anything. Provincial building codes and energy efficiency programs require compliance for all renovation work. Your contractor should guide you through permit requirements specific to your project scope. A seasoned builder in Collingwood or Clearview Township understands South Georgian Bay zoning and environmental considerations that affect what you can build and how.
Obtain all required permits before construction begins. Permits exist to protect you, your home, and future buyers. They ensure work meets safety standards and local codes. Skipping permits creates liability issues, complicates future sales, and may force you to redo work. Your contractor should handle permit applications as part of their service. Confirm this responsibility in your contract so there’s no confusion later.
Verify your contractor’s understanding of your specific renovation type. Bathroom renovations require different expertise than kitchen remodels or basement finishing. A builder experienced with luxury kitchen upgrades may lack knowledge of accessibility modifications or cottage-specific requirements. The conversation should reveal their depth in your project category and their approach to timelines and challenges.
Pro tip Request a detailed contract that specifies permit responsibilities, timeline phases, payment schedule aligned with project milestones, and a clear change order process. This document protects both you and your contractor by eliminating misunderstandings as the project progresses.
Step 4: Coordinate Project Timeline and Secure Materials
A well-coordinated timeline keeps your renovation moving forward while securing materials ahead of time prevents delays and cost increases. This step involves creating a realistic construction schedule with your contractor and ordering supplies with enough lead time. Poor coordination causes frustration. Smart planning keeps everyone on track.
Work with your contractor to establish a detailed project timeline broken into phases. Demolition, structural work, mechanical systems, finishing, and final details each require specific timeframes. Ask your contractor for realistic durations based on similar projects they have completed. Construction timelines explained in Canadian contexts account for seasonal weather variations that affect work in South Georgian Bay. Winter conditions in Wasaga Beach or Blue Mountain can extend timelines if you don’t plan accordingly.
Identify material lead times early. Premium kitchen appliances, custom cabinetry, specialty plumbing fixtures, and high-end finishes often require weeks or months to arrive. Your contractor should create a procurement schedule that orders materials early enough to prevent delays without having them sit on site for excessive periods. This timing is especially critical for luxury renovations where customisation is standard practice.
Build buffer time into your schedule for unexpected discoveries. Hidden problems emerge during renovation. Water damage behind walls, outdated wiring needing replacement, or structural issues require time to address. If you schedule every day to the minute, one discovery throws your entire project off course. A realistic timeline includes contingency phases that protect you from cascading delays.
Maintain regular communication about material arrivals and timeline adjustments. Weekly check-ins with your contractor keep you informed about progress and any emerging issues. If materials arrive late or problems surface, you hear about it immediately rather than discovering it caused delays. Clear communication prevents surprises on your renovation completion date.
Pro tip Request a detailed timeline with specific start and end dates for each project phase, material delivery dates clearly marked, and a communication schedule for weekly progress updates. This document becomes your reference point if questions arise about whether work is progressing on schedule.
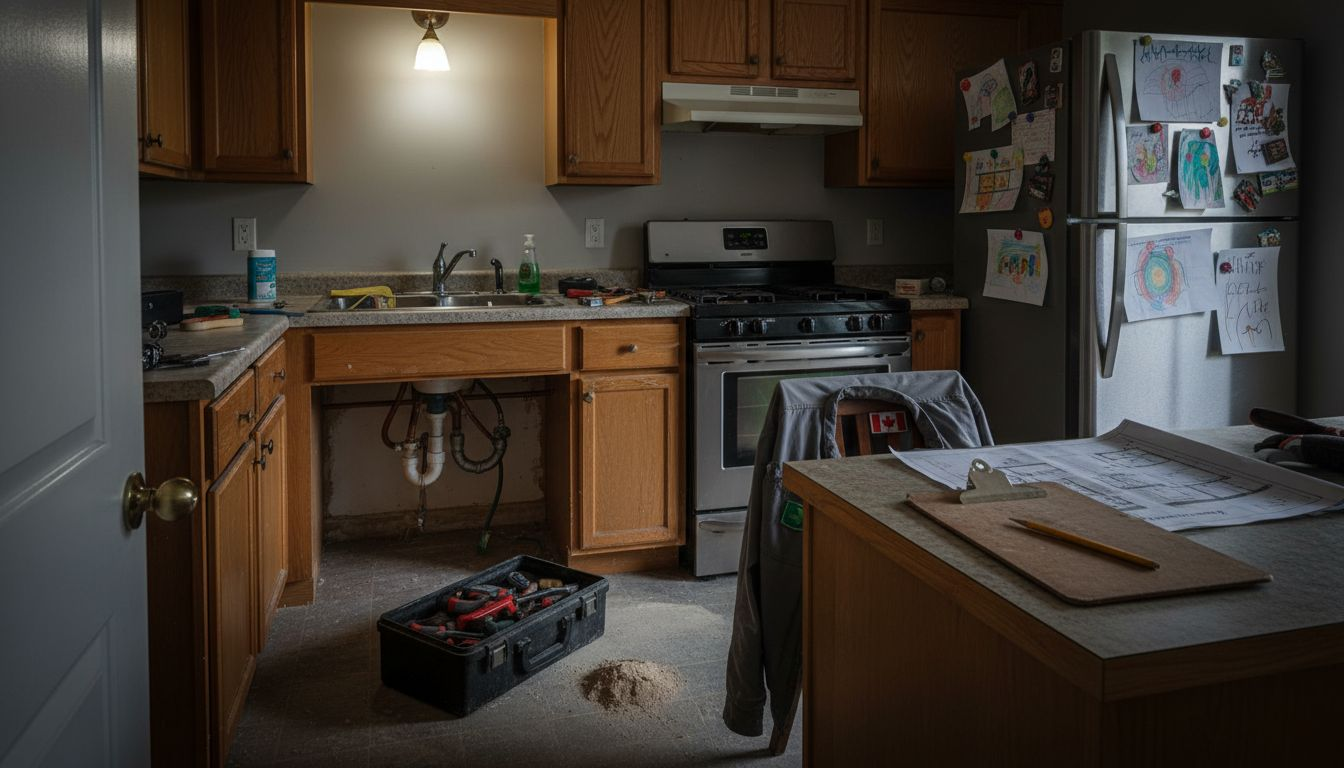
Step 5: Oversee Construction and Quality Control
Your involvement during construction ensures the work meets your expectations and quality standards. Overseeing the project means staying informed, conducting regular inspections, and addressing issues immediately when they arise. Quality control protects your investment and ensures your final result matches your vision.
Schedule regular site visits throughout the project. Weekly walkthroughs allow you to see progress firsthand and spot potential problems early. Bring a notebook and document what you observe. Take photos of completed phases before work moves forward. If something doesn’t match your expectations or the contract specifications, flag it immediately rather than hoping it gets corrected later. Early intervention prevents small issues from becoming expensive problems.
Understand construction management principles so you know what to expect at each phase. Knowing the sequence of work helps you recognise when things are proceeding correctly or falling behind schedule. Ask your contractor to explain what happens during demolition, framing, mechanical rough-in, drywall installation, and finishing stages. This knowledge gives you confidence in evaluating quality.
Inspect materials as they arrive on site. Quality materials in construction directly affect your renovation’s durability and appearance. Check that cabinetry, appliances, fixtures, and finishes match what you ordered. Verify dimensions, colours, and specifications against your contract. Catching discrepancies immediately allows your contractor to address them before installation.
Maintain open communication with your contractor throughout construction. Ask questions about decisions, timelines, and any changes. Clear communication with contractors prevents misunderstandings that compromise quality. If problems surface, discuss solutions collaboratively rather than viewing the contractor as adversarial. Most issues resolve faster when both parties work together.
Request a final walkthrough before the project concludes. This inspection confirms all work is complete, all details match your vision, and quality meets agreed standards. Create a punch list of any final touches needed. Only release final payment once you are satisfied the work is finished to your expectations.
Pro tip Keep a renovation journal documenting site visit dates, observations, photos, and conversations with your contractor. This record protects you if disputes arise and serves as proof of work quality for warranty claims or future reference.
Step 6: Finalise Details and Verify Renovation Standards
As your renovation nears completion, attention to final details separates an excellent result from a mediocre one. This step involves verifying that all work meets agreed standards, securing necessary certifications, and ensuring compliance with Ontario regulations. Finalisation confirms your investment delivered the quality you expected.
Conduct a comprehensive final inspection before the project closes. Walk through every finished space with your contractor and review your original contract specifications. Check paint colours, tile alignment, fixture installation, cabinetry fit, and appliance function. Verify that all agreed upon upgrades are installed correctly. Create a detailed punch list documenting any work still needed. This list becomes your roadmap for final corrections before you release payment.
Secure all required certifications and documentation. If your renovation included energy efficiency upgrades like new windows, insulation, or heat pumps, verify renovation standards and final inspections through Ontario’s programs. Final inspections validate proper installation and allow you to access available rebates. Certification documents prove compliance with provincial guidelines and protect your home’s value for future sales.
Request copies of all permits and inspection sign-offs. These documents prove your renovation was completed legally and to code. Keep them with your home records permanently. They demonstrate due diligence if issues arise later and support insurance claims if needed. Your contractor should provide complete documentation packages as part of project closeout.
Review warranty information for all materials and workmanship. Understand what is covered, for how long, and what steps are required to make claims. Ask your contractor to walk you through warranty coverage for appliances, cabinetry, flooring, and structural work. Having this clarity prevents disputes if problems surface after the renovation concludes.
Pro tip Create a final sign-off document listing all completed work, certifications received, warranties provided, and any remaining warranty registration deadlines. Store this document with your permits and inspection records for easy reference throughout your home ownership.
To increase your chance of renovation success, understand and prepare for these common steps:
Step
Key Action
Typical Outcome
Define Vision & Goals
Create a clear, detailed plan
Reduces costly changes mid-project
Assess Feasibility & Budget
Consult experts, build contingency
Prevents unrealistic or stalled work
Select Contractors & Permits
Vet builders, secure approvals
Ensures legal, high-quality execution
Coordinate Timeline & Materials
Plan schedule and procurement
Avoids delays and supply issues
Oversee & Quality Control
Site checks, document progress
Ensures standards and satisfaction
Finalise & Verify Standards
Inspect, collect documentation
Maximise value, protect investment
This summary highlights the actions that move your renovation smoothly from vision to completion.
Turn Your Renovation Vision into Reality with Mighton Construction
Home renovations can feel overwhelming when you face challenges like establishing a clear vision, sticking to a realistic budget, or selecting trusted contractors who understand Ontario’s building codes. This article highlights how detailed planning, quality oversight, and securing permits are essential to a successful project. If you want to avoid costly surprises and ensure your renovation aligns perfectly with your lifestyle and energy efficiency goals, expert guidance is crucial.
Benefit from over 30 years of local expertise in South Georgian Bay with Mighton Construction. Whether you are planning a luxury kitchen remodel or a custom bathroom upgrade, our team manages every step — from initial design found on our Design Archives to precise craftsmanship seen in our Kitchen Archives and Bathroom Archives. Visit mightonconstruction.com today to book a consultation and take the first step toward a renovation that truly reflects your vision and respects your budget.
Frequently Asked Questions
What are the first steps to take before starting a home renovation in Ontario?
Before starting a home renovation, define your vision and goals. Take time to outline what you want to achieve, such as increasing home value or enhancing functionality, and write down specific objectives for each room.
How can I create a realistic budget for my home renovation?
To create a realistic budget, gather quotes from multiple contractors to understand pricing variables, and build a contingency plan using 10 to 20 percent of your total budget for unexpected challenges. This approach will help prevent financial strain and keep your renovation on track.
How do I assess if my home renovation project is feasible?
Assess feasibility by consulting professionals who can evaluate your home’s structure, local building codes, and your financial readiness. Schedule a walkthrough with a contractor to understand any potential limitations that could affect your renovation plans.
What should I look for when selecting a contractor for my renovation?
When selecting a contractor, check their references, credentials, and past project experience to ensure they match your renovation type. Ask for proof of licensing and insurance as well as documentation that demonstrates familiarity with local regulations to protect your investment.
How can I ensure quality during the construction phase of my renovation?
You can ensure quality by scheduling regular site visits to oversee progress and discussing any concerns with your contractor. Document your observations and communicate openly to resolve issues promptly before they escalate.
What final steps should I take once my renovation is complete?
Once your renovation is complete, conduct a thorough final inspection and create a punch list for any remaining work. Secure all necessary documentation, such as permits and warranties, to protect your investment for the future.