How to build a custom shower: a step-by-step guide
TL;DR:
- Building a custom shower involves constructing a fully tiled enclosure with precise waterproofing, slope, and planning. Proper installation of continuous membrane systems, correct drain slope, and thorough waterproofing are critical to prevent water damage and ensure durability. Homeowners should allocate adequate time and resources to waterproofing, follow code requirements, and consider professional help for plumbing modifications.
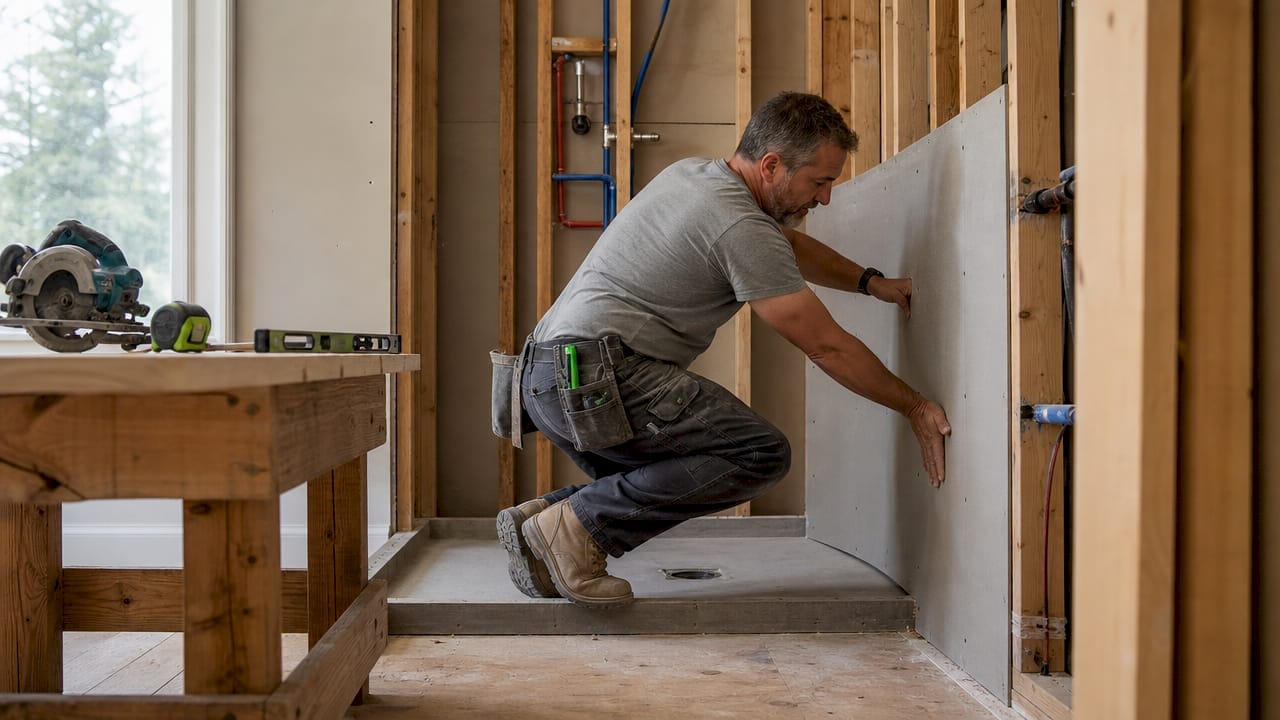
Building a custom shower is defined as constructing a fully tiled, site-built shower enclosure from scratch, giving you complete control over size, layout, materials, and waterproofing. Unlike prefab kits, a custom tile shower requires precise planning, proper waterproofing membranes, and correct substrate slope to deliver a leak-free result that lasts decades. A complete custom shower build breaks down into six stages: planning, plumbing, waterproofing, shower pan installation, tiling, and finishing. Whether you are renovating a bathroom in Wasaga Beach, Collingwood, or anywhere across South Georgian Bay, this guide walks you through every stage with the detail you need to get it right.
How to plan and prep your space for a custom shower installation
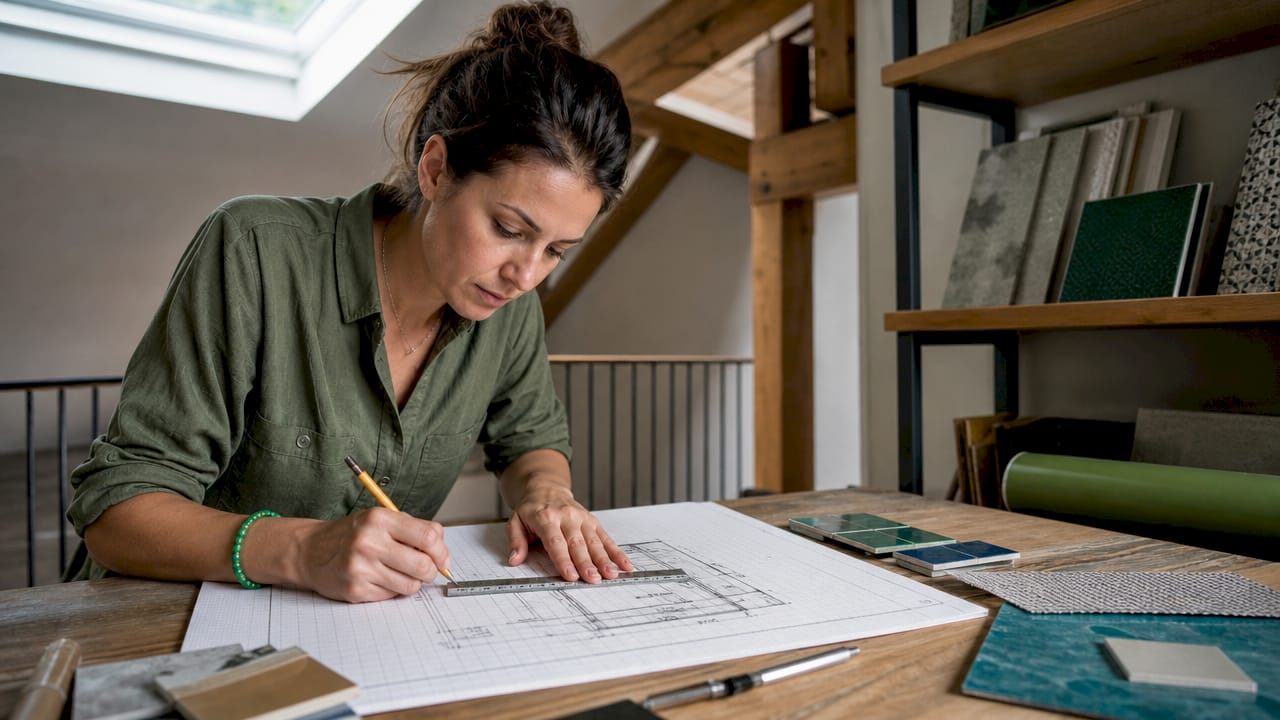
Good planning is the single factor that separates a successful custom shower installation from a costly rebuild. Before you purchase a single tile or bag of thinset mortar, you need a clear layout, confirmed plumbing positions, and an understanding of your local permit requirements.
Follow these steps to prepare your space properly:
-
Measure and design your layout. Decide on the shower footprint based on your bathroom dimensions and user needs. A standard shower is 90 cm by 90 cm, but a walk-in or curbless design may require 120 cm by 120 cm or larger. Sketch the layout to scale and confirm door swing clearance.
-
Assess your existing plumbing. Check whether the drain location suits your new design or needs to be relocated. Reusing the existing drain saves significant labour and cost. If you plan to move the drain or add body jets, hire a licensed plumber. In Ontario, plumbing changes typically require a permit under the Ontario Building Code.
-
Shut off water and demo the existing shower. Turn off the water supply at the main valve. Remove the existing shower unit, backer board, and any damaged framing. Inspect the subfloor for rot or water damage and replace any compromised sections before proceeding.
-
Pull the required permits. Permits and licensed professionals are required for plumbing and electrical changes in most Ontario municipalities. Contact your local building department in Clearview Township, Springwater, or Tiny Township to confirm what applies to your project. Skipping permits can void your home insurance and create problems at resale.
-
Gather your tools and supplies. You will need a tile cutter or wet saw, a notched trowel, a level, a drill, waterproofing membrane, backer board, thinset mortar, grout, and silicone caulk. Having everything on site before you start prevents costly delays mid-project.
Pro Tip: Plan your drain location first, then build the layout around it. Moving a drain after framing is complete adds significant cost and time.
What are the best waterproofing methods for a custom shower build?
Waterproofing is the most critical aspect of any custom shower installation. This is where most DIY showers fail, and the failure is almost never visible on the tile surface. It happens behind it.
The two main systems used in Canadian residential construction are sheet membranes and liquid membranes:
- Sheet membranes such as Schluter Kerdi bond directly to the backer board and create a continuous physical barrier. They are bonded with unmodified thinset and are particularly reliable at corners and seams when installed correctly.
- Liquid membranes such as RedGard are rolled or brushed onto the substrate in multiple coats. They are easier to apply on irregular surfaces but require full coverage and adequate dry time between coats.
Regardless of which system you choose, tile and grout are not waterproofing barriers. The waterproofing layer must be continuous and code-compliant behind the tiles, extending a minimum height above the drain and covering all joints and penetrations.
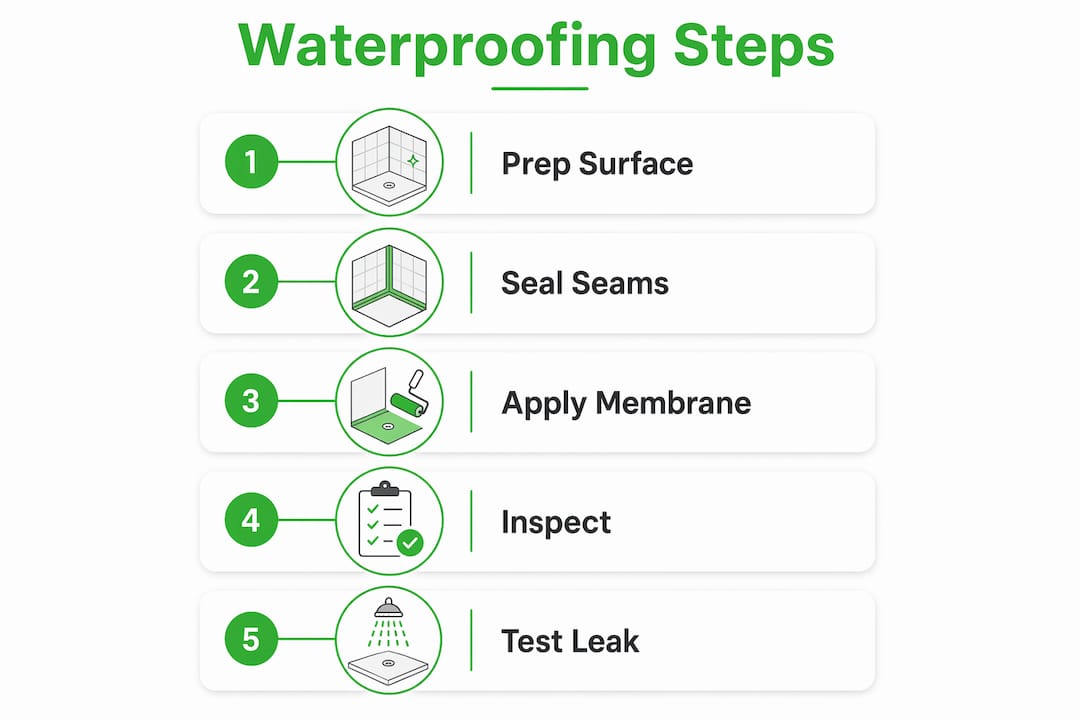
Apply waterproofing to these areas without exception:
- All wall surfaces from the shower floor to at least 30 cm above the showerhead
- The entire shower floor and pan area
- All inside corners and floor-to-wall transitions
- Every screw penetration in the backer board
- Around the drain flange and any fixture penetrations
Waterproofing failures typically occur at seams and penetrations, not because of visible tile damage. Tape all seams with the membrane manufacturer’s fabric tape before applying the full membrane coat. Press the tape firmly into the corners and embed it fully.
Pro Tip: Treat waterproofing as a continuous system, not a series of separate steps. One missed seam or uncovered screw head is enough to allow moisture into your wall assembly over time.
For a deeper look at waterproofing techniques specific to Canadian homes, including freeze-thaw considerations relevant to Blue Mountain and Collingwood properties, Mighton Construction has published a detailed resource worth reviewing before you buy your materials.
How do you build the shower base and get the slope right?
The shower base determines whether your finished shower drains properly or holds standing water. Getting the slope right at the substrate stage is non-negotiable.
Base type
Best for
Key consideration
Mortar pan (mud bed)
Custom shapes, any drain type
Requires skill to slope correctly; very durable
Preformed foam pan (e.g. Schluter Kerdi-Shower)
DIY builds, standard sizes
Pre-sloped; faster installation
Prefab acrylic pan
Budget builds, simple layouts
Limited size options; not suitable for all tile types
Linear drain system
Curbless, barrier-free designs
Slope must run in one direction only
Shower floor slope targets 1/4 inch to 1/2 inch per foot (2% to 4%) toward the drain. This range prevents water pooling and supports proper drainage, which is especially critical in curbless designs where there is no curb to contain overflow.
The drain flange height is equally important. The drain flange must align with the finished tile surface height. A flange set too low or too high relative to the tile creates a lip that traps water and compromises the waterproofing seal at the drain.
For linear drains, the challenge is greater. Slope must be built into the substrate at approximately 1/4 inch per foot running toward the linear drain channel, and this cannot be corrected during tile installation. Incorrect slope is the most common cause of failure in linear drain installations.
Pro Tip: Use a long level and a slope gauge during mortar pan installation. Check the slope in multiple directions before the mortar sets. Correcting slope after the fact means tearing out the base and starting over.
What are the best practices for tiling and finishing a custom shower?
Tiling is where your custom shower design comes to life, but it is also where mistakes become permanent. Choosing the right tile and installing it correctly determines both the look and the longevity of your shower.
Choosing the right tile is the first decision. Porcelain tile is the most widely recommended choice for shower floors and walls because of its low water absorption rate and durability. Ceramic tile works well on walls but is less dense than porcelain. Natural stone such as slate or travertine adds a premium look but requires sealing and more maintenance. For shower floors, use tiles with a textured or matte finish rated for wet areas to reduce slip risk.
Follow these steps for a clean, durable tile installation:
-
Dry fit your layout. Lay tiles out on the floor without adhesive to plan your pattern, confirm grout joint spacing, and identify where cuts will fall. Centre the layout on the most visible wall to avoid narrow slivers at the edges.
-
Mix and apply thinset mortar. Use a polymer-modified thinset for walls and an appropriate thinset for your tile type on the floor. Apply with a notched trowel and back-butter large format tiles to achieve full coverage. Voids beneath tiles lead to cracking.
-
Cut tiles accurately. A wet saw produces clean cuts on porcelain and stone. A manual tile cutter works for straight cuts on ceramic. Always wear eye protection and follow the manufacturer’s guidelines for your cutting tool.
-
Allow thinset to cure before grouting. After thinset cures for 24 to 48 hours, apply grout to the tile joints using a rubber float. Work in small sections and clean excess grout from the tile face before it hardens.
-
Use silicone caulk at all inside corners. Grout cracks at inside corners because the two surfaces move independently. 100% silicone caulk in inside corners and floor-to-wall transitions accommodates movement and prevents cracking. Match the caulk colour to your grout for a clean finish.
-
Install fixtures and doors after tile cures fully. Wait at least 72 hours after grouting before installing the showerhead, valve trim, shelves, and glass door or enclosure. This protects the grout and allows the full assembly to stabilise.
For a curated list of top bathroom remodelling products that work well in custom shower builds, Mighton Construction’s 2026 product guide covers tools and materials suited to both DIY and professional installations.
What common mistakes should you avoid when building a custom shower?
Custom tile showers typically take 3 to 7 days for an experienced DIYer, significantly longer than prefab kits. That timeline creates pressure to rush, and rushing is where most mistakes happen.
Watch out for these common pitfalls:
- Incorrect drainage slope. A floor that is even slightly flat will hold standing water. This accelerates grout deterioration and creates a slip hazard. Build the slope into the mortar bed or foam pan before any tile goes down.
- Incomplete waterproofing coverage. Missing even a small area behind a fixture or at a corner seam allows moisture to penetrate the wall assembly. Mould and structural damage follow within months in a high-humidity environment like a shower.
- Wrong tile type for the floor. Smooth, polished tiles are a safety hazard on wet shower floors. Use tiles with a slip-resistance rating appropriate for wet areas.
- Inadequate bathroom ventilation. A custom shower generates significant moisture. Without a properly sized exhaust fan, that moisture accumulates in the ceiling and walls. Install a fan rated for your bathroom’s square footage and run it during and after every shower.
- Skipping the flood test. Before tiling, plug the drain and fill the shower pan with water to a depth of 5 cm. Leave it for 24 hours and check for any drop in water level. This confirms your waterproofing is intact before it is hidden under tile.
“Poor communication between trades is one of the leading causes of waterproofing assembly failures in residential construction. When the plumber, tile setter, and waterproofing installer are not aligned on sequence and responsibility, gaps appear.” Source: BRCKS Construction
Call a licensed professional if you discover rot in the framing, if your drain requires relocation, or if you are unsure whether your waterproofing system is code-compliant. In Ontario, a failed shower inspection can require full demolition and reinstallation.
Key takeaways
A successful custom shower build depends on getting waterproofing, slope, and substrate preparation right before a single tile is set.
Point
Details
Plan before you purchase
Confirm drain location, layout, and permit requirements before buying materials.
Waterproofing is the priority
Apply a continuous membrane system to all walls, floors, seams, and penetrations without exception.
Slope must be built in
Set shower floor slope at 1/4 to 1/2 inch per foot at the substrate stage; it cannot be corrected later.
Use the right tile and caulk
Choose porcelain or slip-rated tile for floors; use silicone caulk at all inside corners, not grout.
Test before you tile
Perform a 24-hour flood test on the shower pan before installing any tile.
What I have learned after building custom showers across South Georgian Bay
After working on custom shower installations in homes from Wasaga Beach to Collingwood and up through Blue Mountain, one truth stands out above everything else: homeowners consistently underestimate waterproofing and overestimate tiling. The tile is what you see. The waterproofing is what makes the shower last.
The most expensive repairs I have seen come from one of two sources. Either the waterproofing membrane was applied too thin, or the seams at corners and around the drain were not properly embedded and taped. Neither failure is visible until water has already damaged the framing behind the wall. By then, you are looking at a full demolition.
My honest advice to any DIY enthusiast taking on this project: spend twice as much time and money on waterproofing as you think you need to. Buy a quality membrane system from Schluter or a comparable manufacturer. Follow the cure times. Do the flood test. And if your project involves moving a drain, relocating plumbing, or building a curbless shower with a linear drain, bring in a licensed plumber for that portion. The rest you can manage yourself with patience and the right tools.
Local building codes in Simcoe County and across Ontario are specific about waterproofing standards and plumbing permits. Compliance is not optional, and it protects your investment. A shower built to code is a shower that adds real value to your home.
— Adam
Ready to build your custom shower in South Georgian Bay?
If you are planning a bathroom renovation in Wasaga Beach, Collingwood, Springwater, or anywhere across Simcoe County, Mighton Construction brings over 30 years of local expertise to every project.

From full bathroom renovation services to luxury custom showers built to Ontario code, Mighton Construction manages every stage from design through finishing. Our team handles the waterproofing, plumbing coordination, tile work, and fixture installation so you get a result that lasts. Contact Mighton Construction today to discuss your project and get a transparent, no-obligation consultation.
FAQ
How long does it take to build a custom tile shower?
A custom tile shower typically takes 3 to 7 days for an experienced DIYer, accounting for waterproofing cure time, thinset curing (24 to 48 hours), and grout curing before fixtures are installed.
Do I need a permit to build a custom shower in Ontario?
Yes, if your project involves any plumbing changes such as relocating a drain or adding new supply lines, a permit is required under the Ontario Building Code. Contact your local municipality to confirm requirements before starting work.
What is the best waterproofing membrane for a custom shower?
Sheet membranes such as Schluter Kerdi and liquid membranes such as RedGard are both widely used and reliable. The best choice depends on your substrate, drain type, and installer experience. Both must be applied as a continuous system covering all seams and penetrations.
What slope does a shower floor need for proper drainage?
Shower floors require a slope of 1/4 inch to 1/2 inch per foot toward the drain. This 2% to 4% gradient prevents water pooling and is especially critical in curbless and linear drain designs where the slope must be built into the substrate before tiling.
Can I use any tile on a custom shower floor?
No. Shower floors require tiles with a slip-resistance rating suitable for wet areas. Porcelain tile with a textured or matte finish is the most recommended option. Smooth, polished tiles are a safety hazard on wet surfaces and should be reserved for shower walls only.