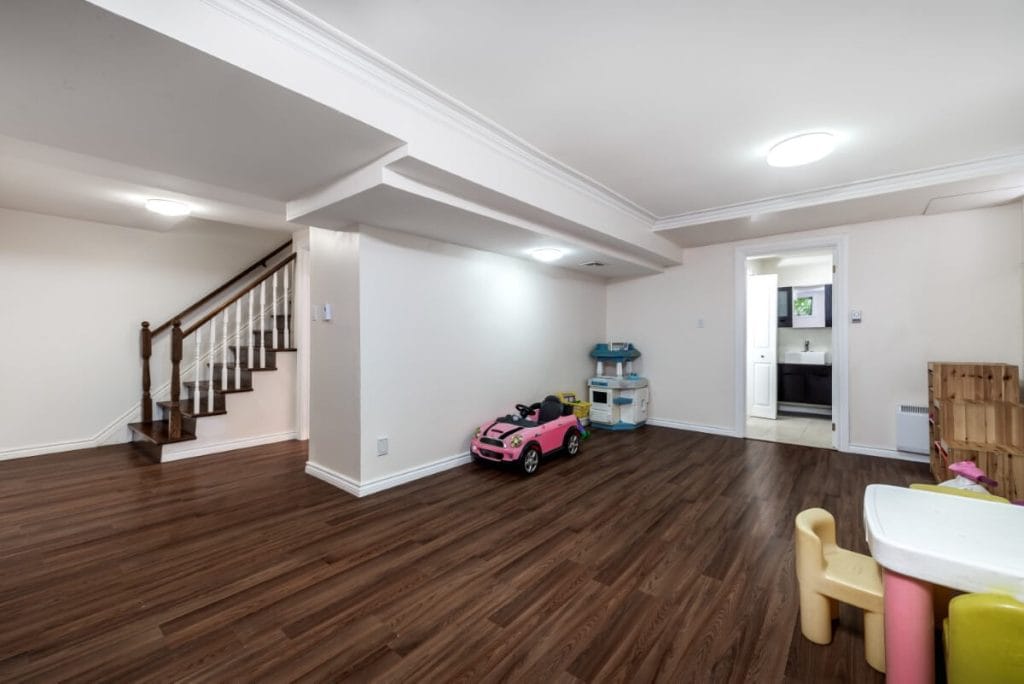
10 Essential Steps for a Successful Basement Finishing Project

Transforming an unfinished basement into a beautiful, functional living space represents one of the most rewarding home improvement projects for homeowners in Wasaga Beach, Collingwood, and surrounding areas. A properly finished basement not only adds valuable square footage to your home but can significantly increase your property’s value. At Mighton Construction, we’ve guided countless homeowners through this transformation process, turning damp, dark basements into stunning entertainment areas, home offices, guest suites, and more. This comprehensive guide walks you through the ten essential steps to ensure your basement finishing project succeeds from start to finish.

Step 1: Evaluate and Plan Your Basement Space
Before picking up a hammer or calling a contractor, proper assessment and planning lay the groundwork for a successful project. This critical first phase involves several key components that will influence every subsequent decision.
Assessing Current Conditions
Professional basement finishing begins with a thorough evaluation of your existing space. “Before you throw all your thought into your basement renovation, foundation wall waterproofing may be necessary. Make sure that it has no problem with humidity and mold,” advises basement renovation experts. At Mighton Construction, we conduct comprehensive inspections to identify potential issues like water infiltration, structural concerns, or mold growth that could compromise your renovation.
During this assessment phase, we examine the foundation walls for cracks, check for signs of water damage, and evaluate existing systems. This thorough inspection helps us develop a realistic project scope and address any underlying issues before they become expensive problems.
Setting Project Goals and Budget
With a clear understanding of your basement’s condition, it’s time to define what you want from the space. Are you envisioning a home theater, additional bedrooms, a home gym, or a multi-purpose area? Your intended use will guide material selections, layout decisions, and budget requirements.
Creating a detailed budget that accounts for materials, labour, permits, and a contingency fund (typically 10-15% of your total budget) helps prevent financial surprises during construction.
Obtaining Necessary Permits
Most basement finishing projects require building permits, which ensure your renovation meets local building codes and safety standards. “The process of getting a construction permit varies by area. Contact your city government to learn how to apply for a permit. You’ll need to prepare a site plan, get quotes from home service providers and obtain proper approval before you can start construction,” notes industry experts1.
Working with professional contractors like Mighton Construction simplifies this process, as we handle permit applications and ensure all work meets or exceeds local code requirements.
Step 2: Control Moisture and Waterproof
Moisture control represents perhaps the most critical aspect of basement finishing. Even minor water issues can destroy finishes, promote mold growth, and create unhealthy living conditions.
Identifying and Addressing Water Issues
Before proceeding with any finishing work, you must identify and resolve all sources of moisture. This might involve:
- Repairing foundation cracks with hydraulic cement
- Installing or upgrading drainage systems
- Correcting exterior grading issues that direct water toward your foundation
- Repairing or installing gutters and downspouts to direct water away from your home
“It’s critical to remove all standing water before beginning any waterproofing job. After the area is completely dry, you may now begin to analyze the damage and select the most effective action,” recommend waterproofing professionals4.
Implementing Waterproofing Solutions
Professional waterproofing typically involves multiple approaches to create a moisture-resistant environment:
“Install vapor barriers on walls and floors to prevent moisture seepage. Choose mold-resistant materials. Opt for mold-resistant drywall, paint, and insulation. Seal openings. Ensure windows and doors are properly sealed to block moisture and drafts. Invest in drainage systems. Consider sump pumps or French drains to handle water issues effectively,” advises home improvement experts2.
At Mighton Construction, we often recommend interior drainage systems combined with quality waterproofing membranes for comprehensive protection. Remember, cutting corners on waterproofing inevitably leads to costly repairs down the road.
Step 3: Design an Optimal Layout
Thoughtful layout planning transforms an empty basement into a functional, comfortable living space that meets your specific needs.
Creating Functional Zones
“Divide the space into functional areas, such as a lounge, workspace, or playroom,” recommend design professionals2. When designing your basement layout, consider how different activities might coexist in the space. Creating distinct zones helps optimize functionality while maintaining a cohesive design.
At Mighton Construction, we recommend starting with a scaled floor plan that accounts for existing structural elements like support columns, mechanical systems, and stairways. This planning stage allows us to maximize usable space while addressing potential obstacles.
Maximizing Natural Light
Basements typically suffer from limited natural light, making strategic lighting a crucial element of your design. “Use mirrors, light-colored finishes, and open layouts to brighten the space,” suggest interior design experts2. Where possible, we recommend enlarging existing windows or adding egress windows, which not only introduce natural light but are required by building code for basement bedrooms.
Step 4: Address Structural Elements
Before finishing work begins, structural considerations must be addressed to ensure safety, code compliance, and optimal space utilization.
Ceiling Height Requirements
“Never compromise on ceiling heights during your basement renovation project; otherwise, it will look very dark and crowded in comparison with the upper levels of your house,” caution renovation professionals6. Most building codes require minimum ceiling heights of 7 feet for habitable spaces, though some areas permit lower heights in certain circumstances.
If your current basement lacks adequate headroom, you may need to consider options like:
- Digging down to lower the floor (a significant undertaking)
- Relocating or reconfiguring ductwork and plumbing
- Using alternative ceiling treatments in specific areas
Foundation and Structural Repairs
“Much of your basement conversion money will most likely be spent on extra excavation and structural work, which can include work to shore the structure up and make sure the stories are supported,” note construction experts6. Any structural issues like foundation cracks, settling, or wall bowing must be professionally addressed before finishing work begins.
Step 5: Install Insulation and Framing
Proper insulation and wall framing create the framework for a comfortable, energy-efficient basement living space.
Selecting Appropriate Insulation
Basements present unique insulation challenges due to their below-grade location and moisture concerns. “Use materials like polystyrene foam for better moisture resistance. Avoid laying fiberglass directly on concrete,” advise construction professionals1.
At Mighton Construction, we typically recommend rigid foam insulation for basement walls due to its moisture resistance, high R-value, and ability to create a thermal break between the cold foundation and interior finishes. This approach helps prevent condensation issues common with traditional fiberglass insulation methods.
Wall Framing Techniques
Wall framing creates the structure for finished walls while providing space for insulation, electrical, and plumbing. We typically install pressure-treated bottom plates for walls against concrete to prevent moisture wicking, with standard framing above. Depending on your basement’s configuration, we may use traditional stud framing or metal studs, which offer excellent moisture resistance.
Step 6: Install Electrical, Plumbing, and HVAC Systems
Properly designed mechanical systems ensure your finished basement is comfortable, functional, and code-compliant.
Electrical Planning and Installation
Basement electrical systems must be carefully planned to provide adequate lighting, outlets, and specialized connections for entertainment systems or home offices. “Plan and install electrical outlets and lighting fixtures. Hire licensed professionals for complex work,” recommend industry experts1.
Most modern basement conversions benefit from:
- Recessed LED lighting for energy efficiency and maximum headroom
- Multiple switched circuits for flexible lighting control
- Abundant outlets (building code typically requires outlets every 12 feet)
- Dedicated circuits for major appliances
- Low-voltage wiring for entertainment systems
Plumbing Considerations
“If adding a bathroom or kitchenette, ensure proper plumbing layout and ventilation,” note construction professionals1. Adding plumbing fixtures to basements often requires special considerations:
- Sewage ejector pumps when fixtures are below the main sewer line
- Proper venting for all fixtures
- Access panels for future maintenance
- Insulation to prevent pipe freezing against exterior walls
HVAC Integration
“Be sure that your basement includes plumbing, electrical wiring, and HVAC systems. The utilities should be installed before finishing the walls and floors,” advise renovation experts. A properly designed HVAC system ensures your basement maintains comfortable temperatures year-round while controlling humidity levels. For existing systems, consulting an HVAC repair specialist before beginning your basement project helps identify any capacity or ductwork issues that need addressing.
At Mighton Construction, we typically recommend:
- Extending existing HVAC systems when capacity allows
- Installing supplemental heating and cooling when necessary
- Adding separate humidity control if needed
- Ensuring adequate return air pathways for proper circulation
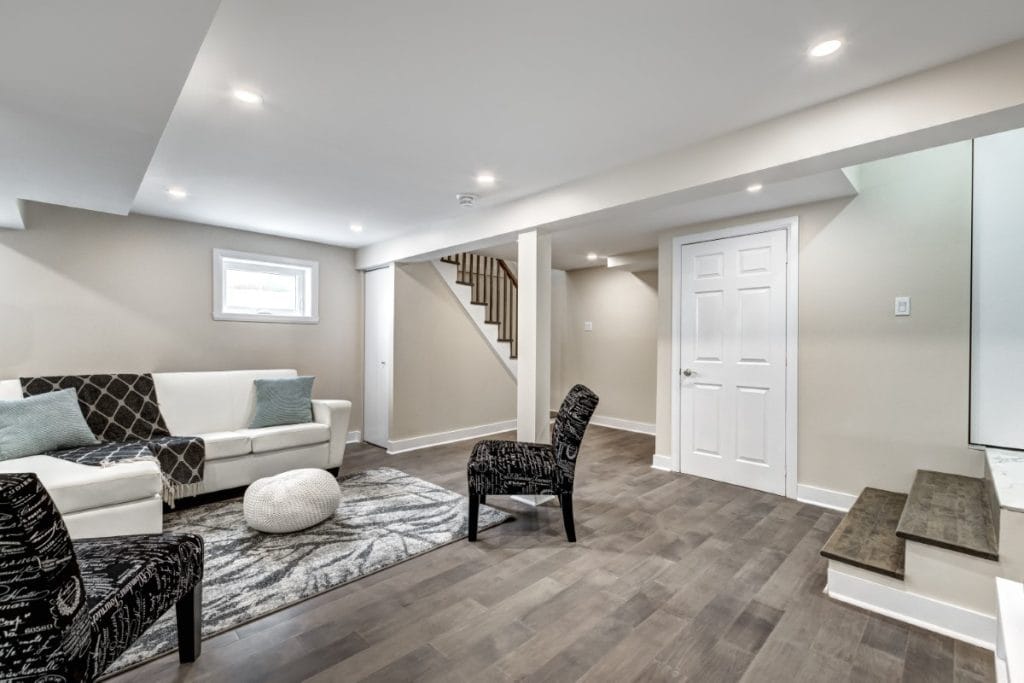
Canadian House recently renovated furnished and staged with living room, kitchen, bedrooms, bathroom, finished basement, garage, deck, back yard and exterior
Step 7: Complete Wall and Ceiling Finishes
With infrastructure in place, it’s time to install the visible finishes that define your space.
Drywall Installation
“Hang drywall on the framed walls, creating access holes for outlets and valves,” recommend construction professionals1. For basements, we recommend moisture-resistant (green board) or mold-resistant drywall products to provide additional protection against potential moisture issues.
Professional drywall installation includes:
- Precise cutting around outlets, fixtures, and irregular shapes
- Proper seam taping and compound application
- Multiple coats of compound with sanding between applications
- Final sanding and preparation for paint
Ceiling Options
Basement ceilings typically follow one of two approaches:
- Finished drywall ceilings - Provide a polished, finished look but make access to utilities difficult
- Drop/suspended ceilings - Allow easy access to plumbing and electrical systems while sacrificing some height
“Decide on a ceiling finish, such as drywall or a drop ceiling, for easy access to pipes and wires,” advise construction experts1.
Step 8: Install Appropriate Flooring
Basement flooring requires special consideration due to moisture concerns and concrete subfloors.
Moisture-Resistant Flooring Options
The table below compares popular basement flooring options:
Flooring Type
Moisture Resistance
Warmth/Comfort
Durability
Installation Complexity
Luxury Vinyl Plank
Excellent
Moderate
High
Moderate
Ceramic Tile
Excellent
Poor (Cold)
Excellent
High
Engineered Hardwood
Good
Excellent
Good
Moderate
Carpet with Waterproof Pad
Fair
Excellent
Moderate
Low
Stained Concrete
Excellent
Poor (Cold)
Excellent
Moderate
“Material costs for flooring can vary greatly depending on the type of flooring you choose. While many homeowners opt for carpet in their basements for warmth, others prefer water-resistant flooring like vinyl, tile, or engineered hardwood,” note industry sources5.
Subfloor Installation
“If a contractor is installing your flooring, they’ll most likely need to install a subfloor first, which will increase your installation costs,” explain construction professionals5. Proper subfloor systems create a moisture barrier while providing insulation from the cold concrete slab. Options include:
- Dimpled plastic membranes with plywood overlay
- Rigid foam insulation with plywood
- Specialized raised basement subfloor systems
At Mighton Construction, we recommend quality subfloor systems for most basement installations to ensure longevity and comfort.
Step 9: Add Finishing Touches
The final details transform a basic finished space into a personalized, inviting environment.
Lighting and Fixtures
“Unique lighting fixtures: Install chandeliers or pendant lights for added character,” suggest design experts2. Thoughtful lighting design dramatically improves basement ambiance. Consider:
- Multiple lighting types (recessed, pendant, wall sconces)
- Dimmer switches for adjustable light levels
- Under-cabinet lighting for task areas
- Accent lighting for artwork or architectural features
Customization and Built-Ins
“Opt for built-ins or multipurpose pieces to maximize space,” recommend design professionals2. Custom cabinetry, entertainment centers, and specialty features make your basement uniquely yours while maximizing functionality.
Step 10: Final Inspection and Completion
The final phase ensures your project meets all requirements and exceeds expectations.
Professional Inspection
“Conduct a final inspection to ensure compliance with local building codes and your satisfaction with the work,” advise construction experts1. Professional contractors ensure all work passes required inspections, addressing any remaining issues promptly.
Project Completion
The final walkthrough with your contractor should verify that all work meets the agreed-upon specifications and quality standards. This is your opportunity to address any concerns before making final payments.
Why Professional Contractors Are Essential for Basement Finishing
While DIY basement finishing might seem appealing, professional contractors bring crucial expertise to these complex projects.
Expert Knowledge and Experience
“Experienced basement finishing contractors bring a wealth of knowledge to your project, having navigated numerous similar tasks. Their expertise not only guarantees a more refined realization of your basement vision but can also lead to substantial savings in both time and expenses by recommending the most suitable solutions based on your basement’s current state,” explain industry professionals3.
Safety and Code Compliance
“Home improvement projects, particularly basement finishing, should always place safety at the forefront. Attempting tasks without adequate expertise, especially in critical areas like electrical and plumbing works, poses significant risks,” caution construction experts3.
Professional contractors understand building codes and safety requirements, ensuring your basement is both beautiful and safe for your family.
Time and Cost Efficiency
“Time is a valuable commodity, and DIY basement finishing projects often demand more time and effort than anticipated. The efficiency and time management skills of a professional contractor mean your project will progress on schedule, avoiding unnecessary delays and ensuring timely completion,” note industry professionals3.

Transform Your Basement with Mighton Construction
A finished basement represents one of the most valuable home improvements you can make, both for your family’s enjoyment and your property’s value. By following these ten essential steps with the guidance of experienced professionals, you can create a beautiful, functional space that meets your needs for years to come.
At Mighton Construction, our team brings decades of experience in basement finishing to homeowners throughout Wasaga Beach, Collingwood, Clearview, Springwater, and surrounding areas. We handle every aspect of your project with meticulous attention to detail, ensuring exceptional results that exceed expectations.
Ready to transform your basement into the space of your dreams? Contact Mighton Construction today for a consultation and discover how our experienced team can bring your vision to life with quality craftsmanship and professional expertise.
Citations:
- https://www.neighborly.com/ca/expert-tips/how-to-finish-a-basementall-the-steps-explained
- https://vujovich.com/expert-tips-for-successful-basement-refinishing-projects/
- https://basilicaconstruction.ca/why-hiring-a-professional-basement-finishing-contractor-is-essential/
- https://www.drylok.com/learn/blog/everything-you-need-to-know-about-waterproofing-basement-walls
- https://www.houzz.com/cost/54-cost-to-finish-a-basement
- https://icicontracting.ca/10-essential-steps-for-basement-renovation/
- https://bannerconstruction.com/strategies-for-a-successful-professional-basement-remodeling-project/
- https://rcrincga.com/remodel/finished-basement-contractor-questions/
- https://www.waterproofingpd.ca/the-complete-guide-to-flooring-waterproofing-in-your-basement/
- https://homeguide.com/costs/cost-to-finish-a-basement
- https://csgrenovation.ca/blog/steps-basement-finishing/
- https://www.multitradebuildingservices.com/news/10-tips-to-ensure-a-successful-basement-renovation
- https://alboreno.com/blog/basement-renovation-torontofinishing-a-basement-is-it-better-to-do-it-myself-or-hire-a-contractor/
- https://www.aquamasterplumbing.com/post/step-by-step-guide-to-basement-waterproofing/
- https://gmco.ca/basement-finishing-cost-toronto-gta-2024/
- https://www.familyhandyman.com/list/basement-finishing-tips/
- https://www.drylok.com/learn/blog/unleashing-the-potential-of-your-basement-8-tips-for-renovating
- https://moosebasements.ca/questions-to-ask-before-basement-finishing/
- https://www.thisoldhouse.com/basements/21097119/basement-waterproofing-tips
- https://www.nerdwallet.com/ca/mortgages/cost-to-finish-basement-canada